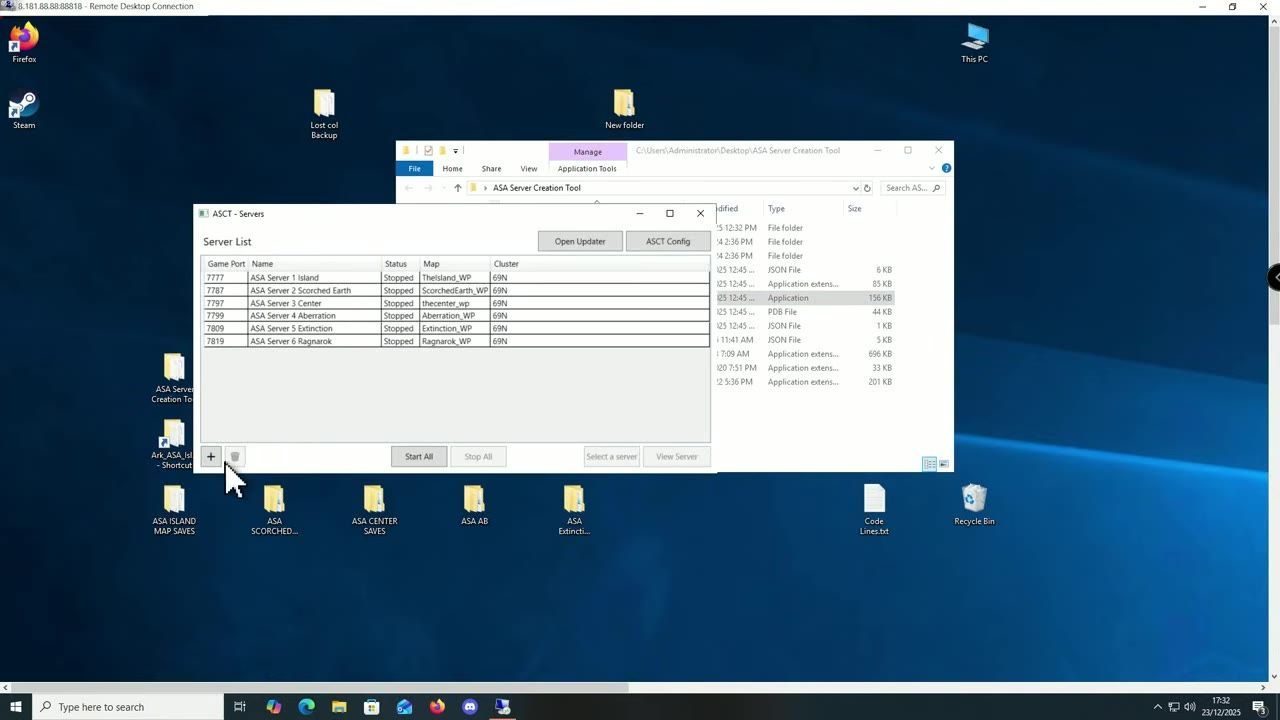
Download the ARK: Survival Ascended server tool from its GitHub page, set it up on a secondary computer or VPS, configure server details like maps and mods, and launch the tool to host your dedicated server.
Set Up the Hosting Environment
To host a dedicated server for ARK: Survival Ascended, you need to prepare your hosting environment. This can be either a secondary computer or a rented Virtual Private Server (VPS). A VPS can be cost-effective if you do not have spare hardware.
prerequisites
- Secondary computer or rented VPS.
- Internet connection for hosting and downloading server files.
- Administrative access to set up software and adjust firewall/port settings.
Install the Server Tool
The server creation tool is essential for setting up your dedicated server. Download the tool from its GitHub repository and extract the files into a suitable directory.
steps
- Access the ARK Server Creation Tool from its GitHub page and download the latest version (a .zip file).
- Extract the .zip file into a designated folder on your hosting machine or VPS.
- Ensure .NET dependencies are installed if prompted by the tool.

The GitHub page displays the ARK Server Creation Tool for downloading version 2.8. — NOOBLETS
Configure Server Settings
Set up your server name, map, cluster ID, game port, and maximum players using the configuration interface.
steps
- Open the server creation tool and navigate to the server configuration menu.
- Select the desired map, such as "Lost Colony," from the map list.
- Create a unique cluster ID and choose port numbers ensuring each server uses different ports.
- Specify the maximum number of players allowed on the server.
- Optionally modify server settings files such as
GameUserSettings.iniandGame.inito personalize gameplay parameters.

The server configuration window displays options for setting server details and map. — NOOBLETS
Add and Manage Mods
Extend your server's features with mods by adding their codes in the server configuration tool.
steps
- Open the server creation tool and select the server to modify.
- In the configuration section, add mod IDs manually or create a text file for easy reference.
- Use the
manual define launch argumentstoggle after adding mods to refresh mod data. - Save all configurations and update game files to ensure mods are fully integrated.

The server configuration interface lists mod IDs under the mods section. — NOOBLETS
Launch and Maintain the Server
Finalize and start your server to ensure it is operational.
steps
- Open the server creation tool, verify all settings, and ensure servers are updated.
- Start servers one at a time to monitor their loading process and check logs for errors.
- Open necessary router ports to allow outside access if hosting locally.
- Regularly back up server files by copying the data in the
Savedfolder to a backup directory.

The server startup process is shown with logs detailing its initialization and status. — NOOBLETS
Troubleshooting and Support
Issues with setup or configurations may arise; here are suggested resources for assistance.
faq
How do I host a dedicated server for ARK: Survival Ascended?
To host a dedicated server, download the ARK Server Creation Tool from GitHub, set it up on a secondary computer or VPS, configure your server's settings, add desired maps and mods, and then use the tool to start your server and test its functionality.

The GitHub profile page of user Ragonz is displayed, featuring links for navigation and following options. — NOOBLETS
Sources
Screenshots on this page are frames from the videos below, used to illustrate the steps they describe. All rights remain with their creators.
- ARK ASA DEDICATED SERVER HOSTING Made EASY! Ark Survival Ascended — NOOBLETS, January 17, 2026
Checked against:
- Astraeos Heaven & Abyss Update is now live! — ARK: Survival Evolved, 2026-08-27