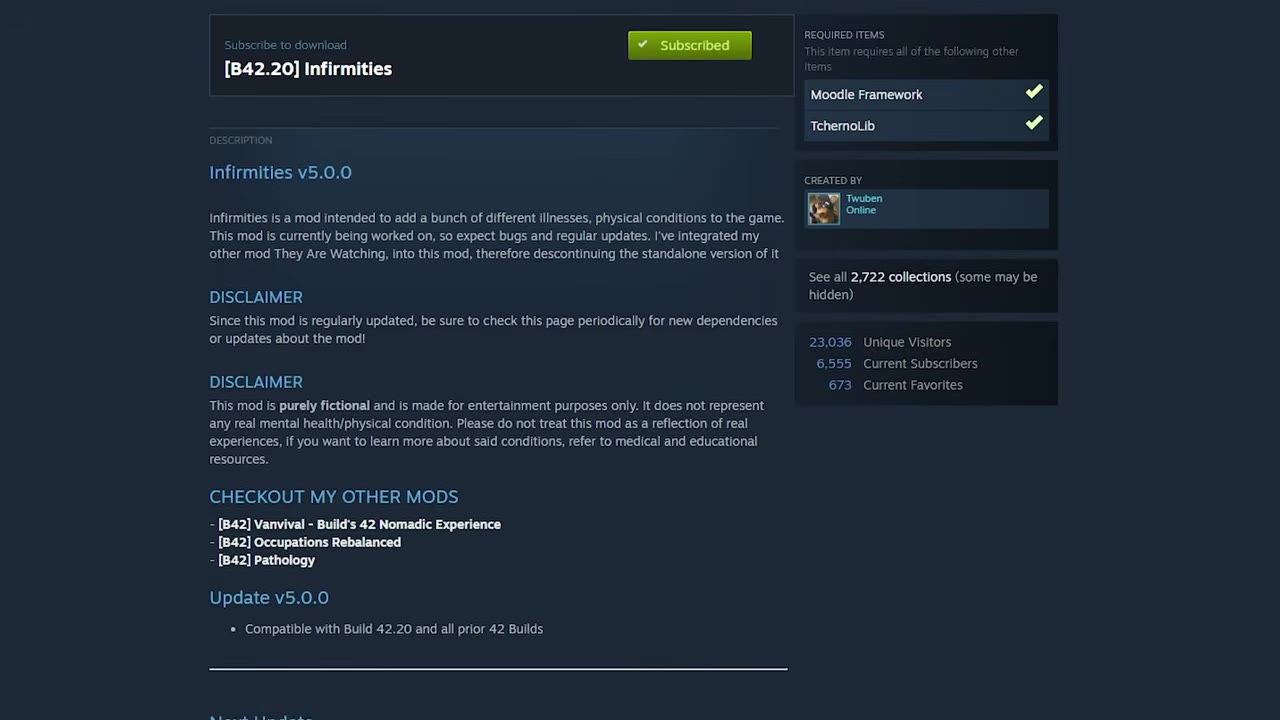
To add mods to a Project Zomboid server, ensure the mods are compatible with the current game version and follow the mod provider's documentation for their setup.
Prerequisites for Installing Mods on Your Project Zomboid Server
Before installing mods on your Project Zomboid server, make sure you're fully prepared:
prerequisites
- Research mod compatibility notes. Some mods may have issues with multiplayer or specific builds, such as those noted for build 42.20.
- Reach the server's settings folder. PZwiki's 42.20.0 server settings page puts it at
%USERPROFILE%\Zomboid\serveron Windows and$HOME/Zomboid/Serveron Linux; the file that matters is the.ininamed after the server,servertest.inion a default install. - Collect two identifiers per mod, not one: the numeric Steam Workshop ID and the mod's loading ID.

The server panel shows mod management options, including viewing details and uninstalling mods. — ZiubisPZ
Step-by-Step Server Mod Installation Guide
Follow these steps, then read the Build 42 compatibility notes before you open the server to anyone:
steps
- Open the server's
.inifile from the settings folder above —servertest.iniunless the server carries a custom name. - Put every mod's numeric Workshop ID on the
WorkshopItems=line, separated by semicolons. PZwiki's worked example isWorkshopItems=514427485;513111049, and that line is what the server downloads. - Put the matching loading ID for each mod on the
Mods=line. PZwiki describes it as a value read out of the mod's own files rather than the title on its Workshop page. - Add a map mod's folder name to
Map=as well. PZwiki gives that key its own entry, filled from the folder under the mod'smedia\maps\directory. - Save the file. PZwiki notes the
.inican be saved while the server runs, withreloadoptionsmaking the change live andshowoptionsprinting what the server currently holds.
Why the Server Wants Two Lists
The two keys are not spellings of the same thing, and a mod that reaches only one of them behaves as though it were never added. A loading ID is the id= line inside the mod's own mod.info, which PZwiki documents against 42.17.0 alongside name, author and require.
That require= line names the other mod IDs a package depends on, so a dependency has to reach both lists too, not only the mod that names it.
Ordering matters less than its reputation. PZwiki's load-order page, written against 42.20.3, holds that order only bites when two mods overwrite the same files, in which case the one loaded last wins. Maps carry the highest risk: two map mods sharing the same cells cannot be reconciled by reordering them.
What Players Joining the Server Have to Do
Very little. PZwiki's dedicated-server page states that Workshop mods added to the server are downloaded automatically on connecting client machines.
Resolving Mod Compatibility Issues
Instability or incompatibility between mods and your Project Zomboid server may occur. Here’s how to manage and troubleshoot these issues:
FAQ: Using Mods on a Shared Server
FAQ
how to successfully use mods on a shared server in Project Zomboid
To use mods successfully, ensure they are compatible with the current game version. Multiplayer compatibility depends on the mod, so confirm this before enabling it on shared servers. Consult documentation or community forums for troubleshooting.
server mod installation guide: what goes on each line
WorkshopItems= takes numeric Steam Workshop IDs, semicolon-separated, and is what the server downloads. Mods= takes loading IDs and is what the game switches on. A map mod also needs its folder name on Map=.
Sources
Screenshots on this page are frames from the videos below, used to illustrate the steps they describe. All rights remain with their creators.
- 10 BEST Mods For Project Zomboid Build 42 Stable — ZiubisPZ, August 1, 2026
Checked against:
- 42.20.4 STABLE & 42.19.2 UNSTABLE & 41.78.21 LEGACY Hotfixes Released — AmazingSully, 2026-08-26
- 42.20.3 STABLE Hotfix Released — AmazingSully, 2026-08-17
- 42.20.2 STABLE Hotfix Released — AmazingSully, 2026-08-05
- Server settings — PZwiki, 2026-08-28 (CC BY-NC-SA 3.0)
- Dedicated server — PZwiki, 2026-08-03 (CC BY-NC-SA 3.0)
- mod.info — PZwiki, 2026-05-09 (CC BY-NC-SA 3.0)
- Load order — PZwiki, 2026-08-18 (CC BY-NC-SA 3.0)